Table of Contents
ToggleWhy DIY Batting Cage Lighting?
Saving Costs
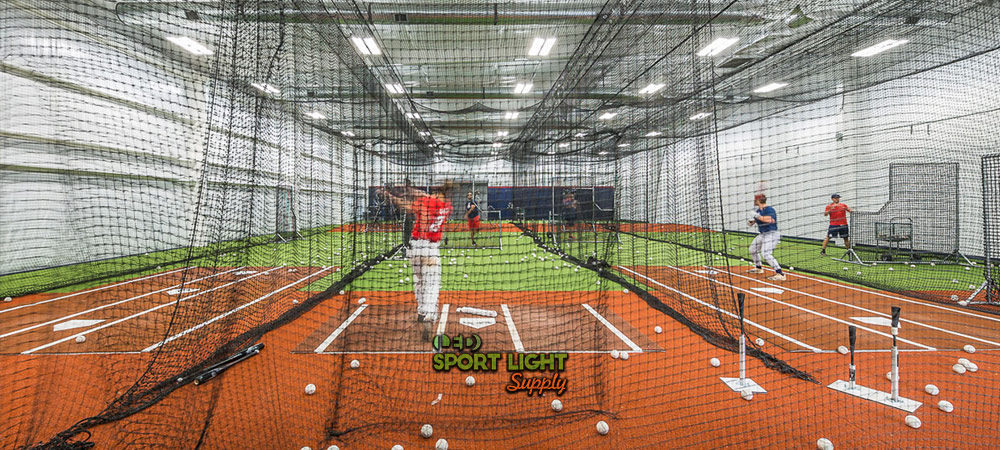
DIY batting cage lighting presents a compelling financial advantage, particularly for enthusiasts and facility managers who aim to minimize expenses. By choosing a do-it-yourself approach, you sidestep the substantial costs associated with professional installation services and pre-packaged lighting systems. Professional installation can be expensive due to labor costs, specialized equipment, and potential markups on the lighting fixtures themselves. In contrast, a DIY project allows you to bypass these costs by sourcing your own materials and handling the installation personally.
Customizing your lighting setup provides additional cost-saving opportunities. When you undertake the project yourself, you have the freedom to select cost-effective materials and fixtures that fit your budget. This could involve choosing more affordable lighting options, such as energy-efficient LEDs or discount fixtures, and avoiding high-end, designer alternatives that come with a hefty price tag. Moreover, DIY lighting projects often enable you to repurpose existing materials or adapt lighting solutions to make the most out of what you already have, further reducing costs.
With careful planning and a bit of research, you can achieve a well-lit batting cage that meets your functional and aesthetic needs without overspending. By leveraging online resources, such as tutorials and product reviews, you can make informed decisions on the most cost-effective solutions. Ultimately, this approach allows you to enjoy the benefits of a professionally illuminated batting cage while keeping your budget intact.
Higher Flexibility
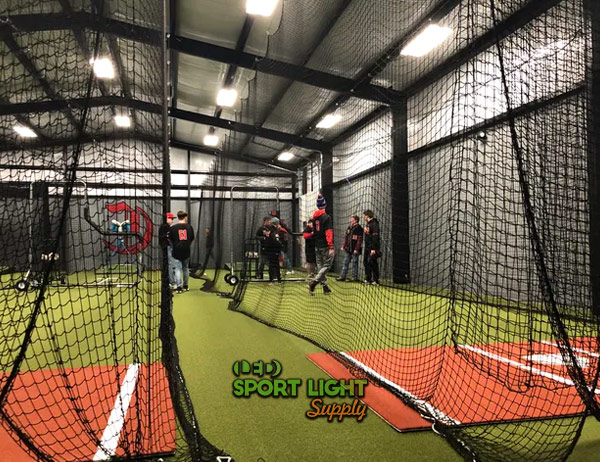
One of the most significant advantages of DIY batting cage lighting is the enhanced flexibility it offers. Taking on the project yourself grants you full control over the design and implementation of your lighting solution, enabling you to tailor it precisely to your needs and preferences.
This flexibility begins with the choice of lighting fixtures. Unlike pre-packaged systems that may have fixed configurations, a DIY approach allows you to select fixtures that meet your specific requirements, whether that involves flood lights for broad coverage or spot lights for targeted illumination. You can mix and match different types of lights to achieve the desired effect and make adjustments as needed.
Another aspect of flexibility is the ability to adjust the brightness and focus of the lighting. With a DIY setup, you can experiment with different light intensities and beam angles to find the optimal balance between visibility and comfort. This adaptability is especially valuable in a batting cage, where lighting needs may change based on factors such as time of day, weather conditions, or the specific activities taking place.
Moreover, DIY lighting solutions offer the advantage of easy modification. If you find that the initial setup does not fully meet your needs, you can make adjustments or upgrades without significant hassle. For instance, you might choose to add more lights, reposition existing fixtures, or even switch to different types of bulbs to better suit your evolving requirements.
Easy to Repair
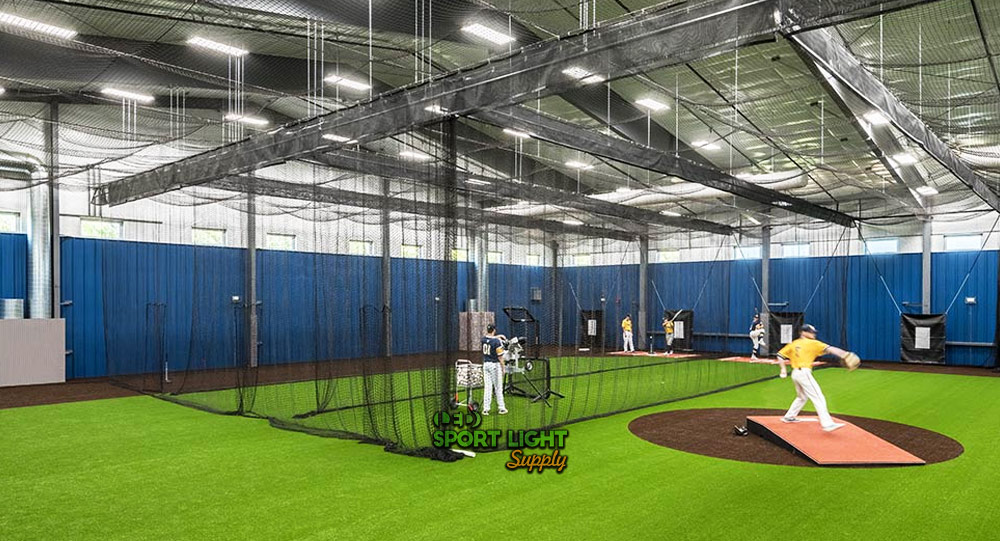
A self-installed lighting system for a batting cage offers significant advantages when it comes to repair and maintenance. Unlike professionally installed systems, which may require scheduling with a service technician and potentially waiting days or weeks for a resolution, a DIY setup allows you to handle issues as they arise with immediate effect. This is particularly valuable for batting cages that see frequent use and rely on consistent lighting for effective practice and play.
When a fixture fails or a bulb burns out, addressing the issue yourself can be both quicker and more convenient. You won’t need to navigate through service appointments or deal with the additional cost of professional repairs. Instead, you can simply use basic tools and your own knowledge to troubleshoot and resolve the problem. For example, replacing a burnt-out bulb or tightening a loose connection can often be done in a matter of minutes, ensuring that the batting cage remains operational with minimal interruption.
The ability to perform repairs and maintenance on your own also contributes to the overall longevity and performance of your lighting system. Regular upkeep, such as cleaning fixtures or checking for signs of wear, can prevent minor issues from escalating into more significant problems. By staying on top of these tasks, you can ensure that your lighting system remains in optimal condition and continues to provide reliable illumination for your batting cage.
Furthermore, DIY repair and maintenance allow for a personalized approach to problem-solving. You can become familiar with the specific components and quirks of your lighting setup, which can help you quickly diagnose and address issues in the future. This hands-on familiarity can lead to more efficient and effective repairs, as you’ll have a better understanding of how each part of your system functions and interacts.
What Kind of Lights Does a Batting Cage Need?
Flood Lights or Spot Lights for Outdoor Batting Cages
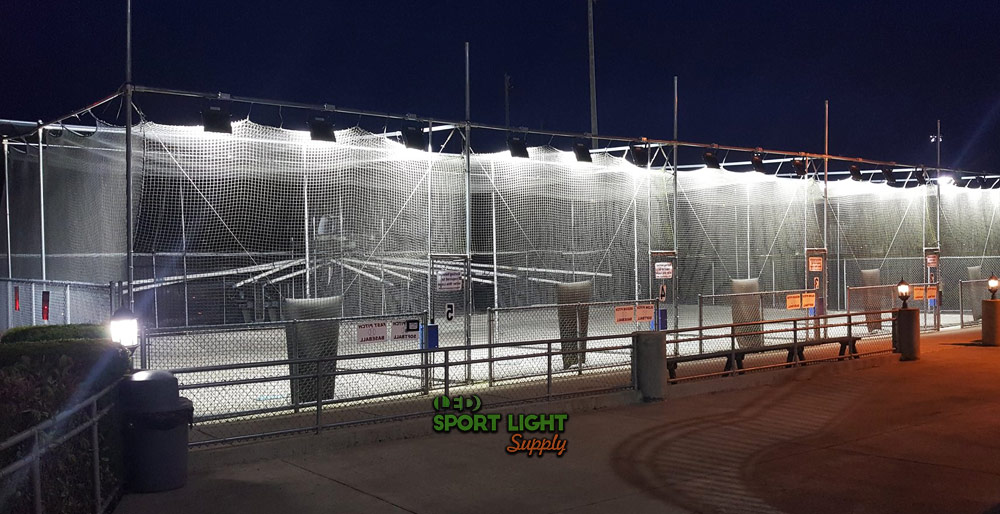
optimal visibility and safety. Flood lights and spot lights are commonly used in these settings, each offering distinct advantages.
Flood lights are an excellent choice for outdoor batting cages due to their ability to provide broad, even illumination. These lights are designed to cover large areas with minimal shadows, making them ideal for spaces where uniform lighting is needed. By dispersing light over a wide area, flood lights help eliminate dark spots and ensure that every part of the batting cage is illuminated. This is particularly beneficial for maintaining consistent visibility, which is essential for both practice and gameplay. Flood lights enhance overall safety by reducing the risk of accidents caused by poor lighting conditions.
In contrast, spot lights are useful for focusing light on specific areas or targets. They provide concentrated illumination that can highlight particular zones within the batting cage, such as the pitching area or a specific target zone. This targeted lighting is valuable for drills or exercises that require precise focus, allowing players to concentrate on specific aspects of their training. Combining flood lights with spot lights creates a versatile lighting setup that accommodates both general and focused lighting needs, offering a well-rounded solution for outdoor batting cages.
High Bay Lights for Indoor Batting Cages
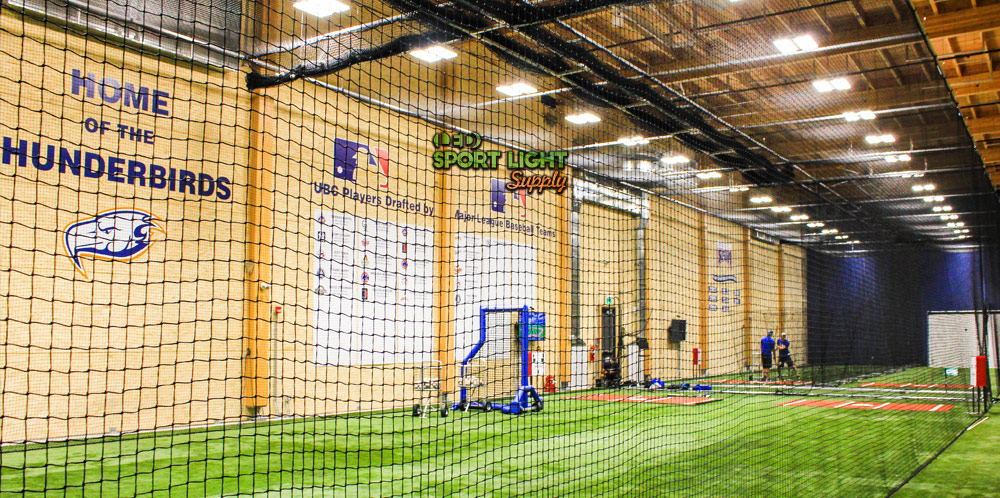
Indoor batting cages often have unique lighting requirements due to their enclosed spaces and high ceilings. High bay lights are particularly well-suited for these environments, as they are designed to provide intense, focused illumination from a significant height. These lights are essential for indoor batting cages where natural light is limited or unavailable.
High bay lights are engineered to deliver bright, concentrated light over a large area, ensuring that the entire batting cage is evenly lit. Their ability to penetrate the space from above helps eliminate shadows and provides a clear view of the ball during practice. This is crucial for players who need to see the ball clearly as it is pitched, allowing for accurate swings and effective training.
Additionally, high bay lights are typically robust and durable, designed to withstand the demands of a high-usage environment. They are often equipped with features such as adjustable mounts and lenses to direct light precisely where it is needed. This adaptability ensures that the lighting can be optimized for different activities and preferences within the indoor batting cage.
How to Light Up a Batting Cage – A DIY Guide
How Many Lux and Lumens Are Needed for the Batting Cage?
Understanding the appropriate levels of lux and lumens is essential for effectively lighting a batting cage. Lux measures the intensity of light that falls on a surface, while lumens quantify the total amount of light emitted by a fixture. Both measurements are crucial in determining the right lighting setup to achieve optimal visibility and performance.
For batting cages, aiming for a lux level of around 200 to 300 is generally recommended. This range provides sufficient illumination to ensure that players can see the ball clearly and perform at their best. Achieving this level of lux requires selecting lights that produce a corresponding amount of lumens. The exact number of lumens needed will depend on factors such as the size of the batting cage, the height of the fixtures, and the type of lighting used.
Balancing brightness and uniformity is key to creating an effective lighting environment. Too much brightness can cause glare, while insufficient light can lead to shadows and reduce visibility. Therefore, it is important to choose fixtures that offer a well-distributed light output and can be adjusted to meet the specific needs of the batting cage. This balance ensures that the entire area is adequately illuminated, enhancing both safety and performance during practice sessions.
How Much Wattage Do Batting Cage Lights Use?
The wattage of batting cage lights is a crucial factor in determining their energy consumption and overall brightness. Wattage essentially measures the amount of energy a light fixture uses, which directly impacts how bright the light will be and how much electricity it will consume.
For outdoor batting cages, the wattage needed is typically higher because these setups require more powerful lighting to effectively cover larger areas. Flood lights, which are commonly used for outdoor environments, often come in higher wattages to ensure that the entire space is well-illuminated and that shadows are minimized. The intensity and range of light needed for outdoor applications necessitate this higher energy use to achieve the desired level of brightness and coverage.
In contrast, indoor batting cages generally require less wattage due to the confined space. The proximity of the lighting fixtures to the playing area means that lower wattage lights can still provide sufficient illumination. High bay lights, commonly used in indoor settings, are designed to deliver bright light from a significant height, which makes efficient use of wattage to provide uniform coverage over the entire cage.
Choosing energy-efficient lighting options, such as LED fixtures, can significantly reduce overall wattage and lower electricity costs. LEDs consume substantially less power compared to traditional halogen bulbs while delivering comparable or even superior brightness. They also generate less heat, which further contributes to energy savings and enhances safety by reducing the risk of overheating. By opting for LEDs, you can maintain effective illumination while managing energy consumption and operating costs more effectively.
Where to Place the Batting Cage Lights?
The placement of lights plays a critical role in achieving optimal illumination for a batting cage. Proper positioning ensures that the entire area is evenly lit, which is essential for both safety and performance.
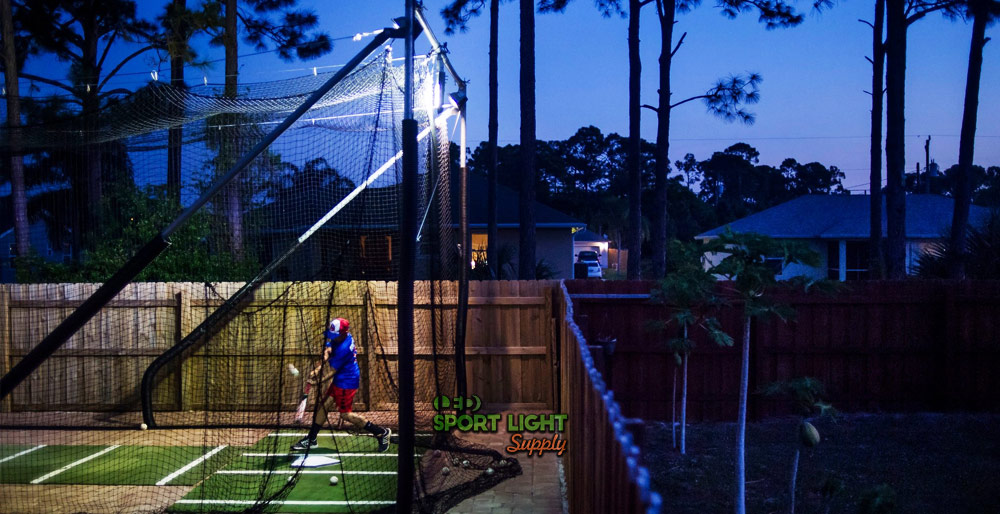
For outdoor batting cages, mounting flood lights on poles or surrounding structures is an effective strategy. This setup allows the lights to cast a wide, even beam across the playing area, minimizing shadows and providing consistent illumination. When positioning the lights, it’s important to ensure that they are not placed too close to the playing area, as this can cause glare and discomfort for players. Instead, the lights should be mounted at a sufficient height and angle to cover the entire cage while avoiding direct line of sight from the batter’s perspective.
In indoor batting cages, high bay lights should be strategically placed along the ceiling to ensure uniform light distribution. These lights are typically mounted at a higher elevation, allowing them to cast light downward over the entire area. The goal is to avoid any dark spots and ensure that every section of the cage is adequately illuminated. Proper placement involves spacing the lights evenly and considering the layout of the cage to achieve the best coverage.
Overall, careful consideration of light placement is essential for creating an effective lighting environment. Whether for indoor or outdoor setups, ensuring that lights are positioned to provide even coverage and minimize glare will enhance the usability and safety of the batting cage.
Tips for Selecting the Best Batting Cage Lights
Using a Large Beam Angle to Give Broad Coverage
When choosing lights for a batting cage, selecting fixtures with a large beam angle is key to achieving broad, uniform coverage. Lights with a wide beam angle spread illumination over a larger area, which helps reduce shadows and provides consistent lighting throughout the cage. This feature is particularly important for maintaining visibility and ensuring that all areas of the batting cage are well-lit. A large beam angle ensures that players can see the ball clearly from any position within the cage, enhancing their training and performance.
Light-Weight Luminaries
Opting for light-weight luminaries can simplify both installation and maintenance processes. Lightweight fixtures are easier to handle and position, which reduces the risk of damage during setup. Additionally, they can be mounted on various surfaces without the need for extensive support structures, making them a versatile choice for different environments. The ease of handling and installation provided by light-weight luminaries contributes to a more efficient and less cumbersome setup, ultimately making the lighting system more manageable.
Using LED Instead of Halogen
LED lights are often preferred over halogen bulbs for batting cage lighting due to their numerous advantages. LEDs are highly energy-efficient, consuming significantly less power while delivering the same or greater level of brightness compared to halogens. This efficiency translates to lower electricity bills and a reduced environmental impact. Additionally, LEDs have a longer lifespan, which means they need to be replaced less frequently, further reducing maintenance costs and effort.
Furthermore, LEDs generate less heat compared to halogen bulbs, which enhances safety by reducing the risk of overheating and potential fire hazards. The cooler operation of LEDs also contributes to a more comfortable environment for players, as it prevents excessive heat buildup in the batting cage. Overall, the benefits of LED lighting—such as energy efficiency, durability, and lower heat output—make it a superior choice for both indoor and outdoor batting cages.
Using Solar Batting Cage Lights
Solar-powered lighting offers a sustainable and eco-friendly option for illuminating outdoor batting cages. These lights harness the power of the sun through solar panels, which convert sunlight into electricity. By using solar energy, you reduce reliance on traditional power sources and lower your electricity bills. This can be particularly advantageous for long-term use, as the initial investment in solar lighting can be offset by the ongoing savings on energy costs.
The installation of solar batting cage lights is relatively straightforward, making them an attractive option for DIY enthusiasts. Solar lights typically come with mounting hardware and require minimal wiring, as they operate independently of the grid. This ease of installation contributes to their appeal, especially for those looking to set up a lighting system without extensive electrical work.
In addition to their cost-saving benefits, solar lights are environmentally friendly. They produce no greenhouse gas emissions during operation and help reduce your carbon footprint. By choosing solar-powered lighting, you contribute to a greener planet while enjoying reliable illumination for your batting cage. However, it’s important to ensure that the solar panels receive adequate sunlight during the day to charge fully and provide sufficient lighting during the evening.
Sturdy Lighting Fixture
Selecting robust and durable lighting fixtures is essential for ensuring that your batting cage lights can endure frequent use and withstand various environmental conditions. Sturdy fixtures are particularly crucial for outdoor batting cages, where exposure to weather elements such as rain, wind, and UV rays can impact the integrity of the lighting system.
Fixtures made from high-quality materials such as aluminum, stainless steel, or weather-resistant plastics are recommended for their durability and longevity. These materials are designed to resist corrosion and damage from environmental factors, ensuring that your lighting system remains functional over time. Additionally, fixtures with sealed designs or protective coatings can further enhance their resistance to the elements.
Investing in durable lighting fixtures helps maintain consistent performance and extends the lifespan of your lighting system. This is especially important for outdoor setups, where the constant exposure to the elements can otherwise lead to frequent repairs or replacements. By choosing well-constructed fixtures, you ensure that your batting cage remains well-lit and safe for players, regardless of weather conditions.
Color Temperature
The color temperature of your batting cage lights significantly affects both the quality of illumination and the overall ambiance. Color temperature, measured in Kelvin (K), determines whether the light emitted appears warm or cool. For batting cages, a color temperature range of around 4000K to 5000K is ideal.
Lights within this range produce a cool white light that enhances visibility and reduces eye strain. Cool white light offers a higher color rendering index (CRI), which improves the accuracy of color perception and helps players better track the ball. This is particularly beneficial for performance, as it ensures that players can see the ball clearly and react promptly.
Moreover, the cool white light provided by fixtures in this color temperature range creates a bright and crisp environment that enhances focus and reduces fatigue. This contributes to a more comfortable and effective training experience. When selecting lights for your batting cage, consider choosing those with a color temperature that aligns with these specifications to optimize visibility and player comfort.
Common Mistakes DIYers Make with Batting Cage Lighting
Too Bright Lighting
One common error in DIY batting cage lighting is the installation of lights that are excessively bright. While it’s important to ensure adequate illumination, over-bright lighting can lead to glare, which impairs visibility and causes discomfort for players. Glare can make it difficult to see clearly and can result in eye strain, detracting from the overall experience.
To avoid this issue, it’s essential to balance the brightness of your lighting system with the need for comfort and visibility. Aim for a lighting setup that provides sufficient illumination without overwhelming the space. Properly selecting the wattage and adjusting the placement of lights can help achieve this balance and create a more pleasant and effective lighting environment.
Too Dim Lighting
Conversely, insufficient lighting is another common mistake that can negatively impact performance. Too dim lighting creates shadows and reduces contrast, making it challenging for players to follow the ball and react quickly. This can hinder training effectiveness and diminish the overall experience in the batting cage.
To prevent dim lighting, accurately assess the lux and lumen requirements for your batting cage. Ensure that your lighting fixtures provide enough brightness to illuminate the entire area uniformly. By meeting these requirements, you ensure that players have clear visibility and can perform effectively during practice sessions.
Incorrect Orientation
Improper orientation of lights can lead to uneven illumination and unwanted shadows. This can create areas of the batting cage that are poorly lit or excessively bright, affecting both visibility and safety. Ensuring that lights are correctly aligned and positioned is crucial for achieving consistent lighting throughout the cage.
When installing lights, avoid placing them in positions that cause direct glare or uneven light distribution. Instead, aim for a setup that provides uniform coverage across the entire batting cage. This will help eliminate dark spots and ensure that every area of the cage is well-lit, enhancing the overall functionality of your lighting system.
Wrong Power Input
Using lights with the incorrect power input can result in operational issues and potential damage to the fixtures. It’s essential to match the power requirements of your lighting system with the available electrical supply. This includes ensuring that the voltage and wattage of the lights are compatible with your power sources.
Incorrect power input can lead to problems such as flickering, reduced performance, or even damage to the lighting fixtures. To avoid these issues, carefully review the specifications of your lights and ensure that they are properly connected to a compatible power source. This will help ensure reliable operation and longevity of your lighting system.
How Much Does It Cost to Light a Batting Cage?
Batting Cage Flood Light Cost
Flood lights are a common choice for illuminating outdoor batting cages due to their ability to provide broad, even coverage. The cost of flood lights can vary depending on their type, quality, and features. On average, you can expect to pay between $50 and $200 per flood light unit.
Several factors influence this cost range. Basic flood lights at the lower end of the spectrum are generally less expensive but may lack advanced features such as weather resistance or adjustable beam angles. These basic models are suitable for straightforward lighting needs where high performance is not critical.
On the other hand, higher-end flood lights, which fall into the $150 to $200 range, often come with additional features such as enhanced durability, better weatherproofing, and more precise control over light distribution. These lights are designed to withstand harsh outdoor conditions and provide superior illumination. The total cost for flood lights will also depend on the number of units required to cover your batting cage effectively. Larger cages or those requiring more intense illumination will necessitate more lights, thus increasing the overall expense.
Installation Cost
Installation costs for batting cage lighting can vary significantly based on the complexity of the setup and whether you choose professional installation or undertake the project yourself.
For professional installation, you can expect to pay between $100 and $500. This range accounts for various factors, including the size of the batting cage, the type and number of lights being installed, and the specific requirements of the installation. Professional services often include not only the physical installation of the lights but also the necessary wiring and safety inspections. The higher end of the cost range typically corresponds to more complex installations, such as those requiring extensive electrical work or custom mounting solutions.
If you choose to install the lights yourself, you can save on these installation costs. However, DIY installation requires a good understanding of lighting principles and safety measures. You will need to account for the cost of tools and any additional materials, such as mounting hardware or electrical components. While this approach can significantly reduce costs, it demands careful planning and execution to ensure the lighting system is installed correctly and safely.
Conclusion
DIY batting cage lighting offers numerous benefits, including cost savings, increased flexibility, and ease of repair. By understanding the types of lights needed, how to properly light a batting cage, and the tips for selecting the best fixtures, you can create an effective and efficient lighting setup. Avoiding common mistakes and carefully considering the costs involved will help ensure that your batting cage is well-lit and ready for practice. With a thoughtful approach to DIY lighting, you can enhance your batting cage experience and enjoy better visibility and performance.
