What is a tennis court lighting layout? It refers to the strategic arrangement of lighting fixtures within a tennis court. Whether you are installing new lights or retrofitting existing ones, such as metal halide, halogen, or high-pressure sodium lamps, an effective lighting layout is crucial for enhancing brightness and achieving uniform illumination across the court. On this page, you will explore various tennis court lighting arrangements and learn how to design an optimal layout for your needs.
Objectives of Creating a Tennis Court Lighting Layout Plan
Ensuring Sufficient Brightness
The primary objective of a tennis court lighting layout is to provide adequate illumination to ensure that players can clearly see the court boundaries and the fast-moving tennis ball. Brightness requirements vary based on the use of the court. For residential courts, a range of 200 to 350 lux is typically sufficient, providing enough light for recreational play while minimizing glare for neighbors. In contrast, commercial or professional tennis arenas and stadiums require higher illuminance levels, with class I courts needing 500 lux or more, class II courts around 300 lux, and class III courts about 200 lux.
Achieving Good Lighting Uniformity
Lighting uniformity is another critical factor when designing a tennis court lighting layout. Uniformity measures how evenly light is distributed across the court, ranging from 0 (minimum) to 1 (maximum). It is calculated based on the ratio of minimum lux to average lux or minimum lux to maximum lux in a specific area. A well-designed layout typically achieves a uniformity value of around 0.7. Advanced lighting designs using LED fixtures with varied power and beam angles can achieve even higher uniformity, ranging from 0.8 to 0.9.
Minimizing Glare and Spill Light
Controlling glare is essential to prevent discomfort for players and reduce light pollution outside the court. A well-planned lighting layout should ensure that glare ratings (GR) are kept below 50 to minimize spill light. Some designs may even aim for a glare rating below 40 for optimal performance. Proper glare management enhances the overall lighting experience and reduces environmental impact.
Reducing Lighting Costs
An efficient lighting layout can significantly lower both initial and ongoing costs. By optimizing factors such as power, luminous efficacy, beam angles, and fixture placement, the number of required luminaires can be minimized. Typically, 4 to 8 lights are sufficient for a recreational tennis court. Effective planning helps in reducing both lamp and installation costs.
Extending Fixture Lifespan
Choosing the right type of lighting fixture can impact both operational and maintenance costs. LED lights are preferable for tennis courts due to their longer lifespan, which ranges from 80,000 to 100,000 hours—about 5 to 10 times longer than conventional halogen or metal halide lamps. LEDs also offer environmental benefits by reducing the frequency of lamp replacements.
Outdoor Tennis Court Lighting Layout
When designing lighting for outdoor or indoor tennis courts, the arrangement of light poles and luminaires is crucial for optimal illumination. Various standard layouts are commonly used, including 4-pole, 6-pole, and 9-pole configurations. Each layout offers distinct advantages and limitations, which we will explore in detail.
4-Pole Layout (Outdoor)
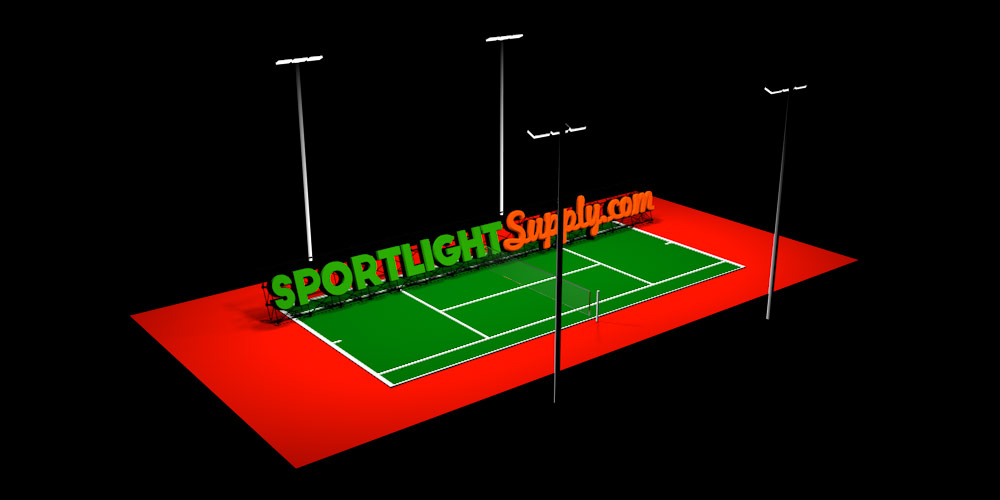
The 4-pole layout consists of four light poles positioned around the tennis court. Typically, two poles are placed on each long sideline of the court. Placing the poles near the baseline is generally avoided for two reasons:
Distance and Brightness
Positioning light poles near the baseline of a tennis court necessitates that light must cover a greater distance to reach the central area of the court. This increased distance can lead to a noticeable reduction in brightness at the net, which is the focal point of play. As the light travels from the pole to the center of the court, it disperses and loses intensity, which can result in uneven illumination. This uneven lighting can affect the visibility of the ball and hinder players’ ability to accurately judge its position and trajectory. Therefore, having poles positioned farther from the baseline can compromise the quality of light at critical areas of the court, affecting both gameplay and overall viewing experience.
Glare
When light poles are placed near the baseline, they can significantly increase the level of glare experienced by players. This is because the poles are positioned such that the lights are closer to the players’ line of sight when they are at the short side of the court. As a result, players might be directly facing the light sources during play, leading to discomfort and difficulty in seeing the ball clearly. The intensity of the light can cause visual distractions and reduce players’ ability to maintain focus on the game. In addition, excessive glare can detract from the overall enjoyment of the match for both players and spectators, impacting the quality of play and viewing experience.
The ideal location for the poles is near the service line, positioned 1.5 to 3 meters from the double sideline. To maximize coverage, it is recommended to install two lamps on each pole. This arrangement enhances visibility of the ball and opponents while optimizing space usage.
| Advantages | Limitations |
|---|---|
| Fewer poles needed | Higher pole height required |
| Space-efficient | Increased potential for light spill |
While the 4-pole layout uses fewer poles and saves space, it may require higher pole heights to ensure uniform lighting. This can also result in increased spill light.
6-Pole Layout (Outdoor)

The 6-pole layout extends the 4-pole design by adding two additional poles at the center of each long sideline. Each side of the court then has three poles, with 1 to 2 lamps typically installed on each pole.
The primary benefit of the 6-pole layout is its ability to reduce shadows. With lights coming from six different directions, shadows cast by players are minimized, regardless of their position on the court. This setup also allows for a reduction in overall power usage, as each pole covers a smaller area.
| Advantages | Limitations |
|---|---|
| Reduces shadows effectively | Higher cost due to additional poles |
| Decreases light loss | Increased wiring and installation costs |
Although the 6-pole layout provides better lighting quality, it incurs higher costs for poles, wiring, and installation compared to the 4-pole layout.
9-Pole Layout (Adjoining Outdoor Tennis Courts)
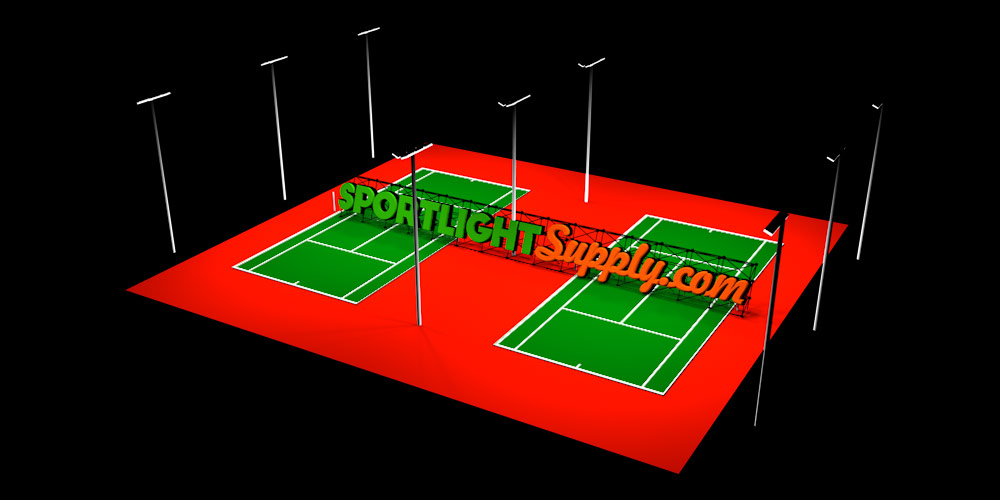
For adjacent tennis courts, the 9-pole layout is often employed. This arrangement features a 3×3 grid of poles: three poles on each long sideline of Court A, three in the shared area between Court A and Court B, and three on each long sideline of Court B. This layout helps minimize the number of poles while reducing installation costs.
| Advantages | Limitations |
|---|---|
| Minimizes pole and installation costs | Increased weight on central poles |
| Efficient for double courts | Potential need for additional lamps |
For this layout, it’s essential to ensure that the central poles can support the weight of the luminaires and the additional lamps. LED lighting is often preferred for its lighter weight and energy efficiency.
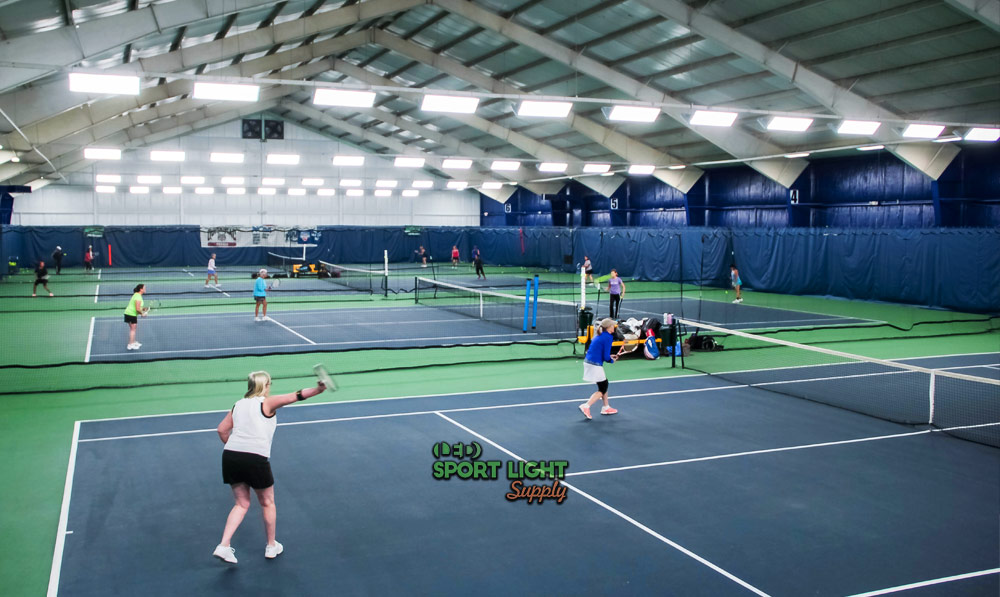
Indoor Tennis Court Lighting Layout
Designing an effective lighting layout for an indoor tennis court involves considerations that differ from those for outdoor courts. In indoor settings, lighting fixtures are mounted on the ceiling rather than installed on poles. Several lighting arrangements can be used to achieve optimal illumination.
Gypsophila Lighting Layout
The Gypsophila lighting layout, often used in indoor tennis courts, involves hanging luminaires from beams to create several “strips” of light. These strips are aligned parallel to the sidelines of the court, with the light fixtures positioned perpendicular to the floor.
| Advantages | Disadvantages |
|---|---|
| Minimizes shadows on the court due to multiple light sources | Increased room temperature if lighting efficiency is low |
| LED lights can be used to improve energy efficiency and brightness | Requires a large number of fixtures, which can lead to higher installation costs |
Horse-Riding Lighting Layout
The Horse-Riding lighting layout, named for its resemblance to the position of a rider and horse, features luminaires mounted in opposite directions. In this setup, the lights are angled obliquely towards the court.
| Advantages | Disadvantages |
|---|---|
| Reduces the number of beams and lamps needed, lowering installation costs | Smaller beam angle may cause increased glare |
| Less number of lamps required compared to other layouts | Higher beam height may be needed to reduce glare |
Reflection Arrangement (Indirect Lighting)
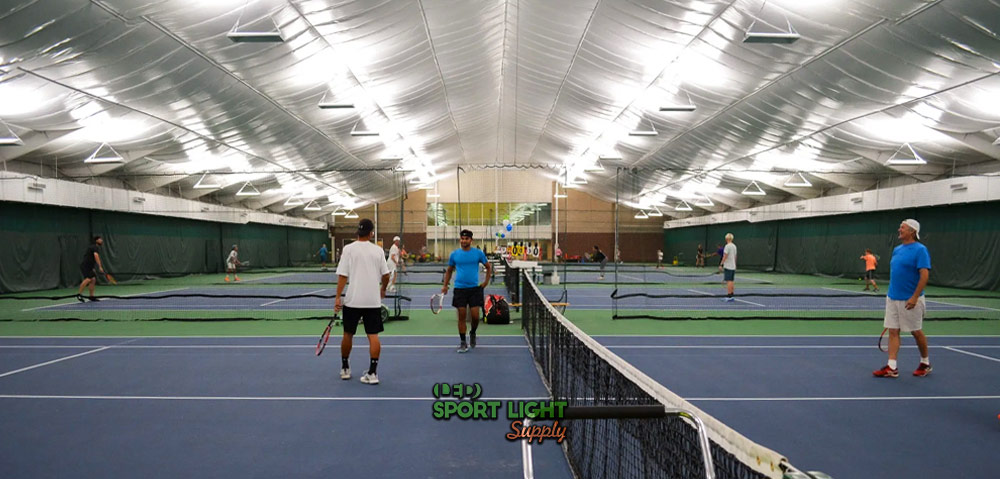
The Reflection Arrangement focuses on maximizing lighting uniformity by directing all light fixtures upward to reflect off the ceiling. This setup uses the ceiling as a large reflector to evenly distribute light across the court.
| Advantages | Disadvantages |
|---|---|
| Provides uniform lighting, enhancing player comfort | Requires more fixtures to compensate for light loss during reflection |
| Ideal for courts with flat ceilings | High ceilings may necessitate additional fixtures, increasing overall project cost |
For further assistance with indoor tennis court lighting or to discuss specific needs, please feel free to contact us. Our lighting engineers are available to provide expert advice and support.
Conclusion
By strategically arranging lighting fixtures, whether for new installations or retrofits, you can enhance brightness, ensure uniform illumination, and minimize glare. The layout should be tailored to the specific needs of the court, whether it’s residential, commercial, or professional. Understanding the various configurations, such as 4-pole, 6-pole, and 9-pole setups for outdoor courts or Gypsophila, Horse-Riding, and Reflection arrangements for indoor courts, allows for a customized approach to achieving the best lighting conditions. Effective planning not only improves player performance but also helps reduce costs and extend the lifespan of your lighting fixtures. For tailored advice and support, our lighting engineers are available to assist with your specific needs.