When you walk into a velodrome, you might not consciously notice the lighting—but the quality, amount and uniformity of that light play a big role in the experience for athletes, spectators and broadcasters. So what are the suggested brightness levels for a velodrome? And how do you decide what level suits your facility, whether it’s for training sessions, community use or international competition? In the following I’ll explore why specific lighting levels matter, typical lux (and foot-candle) targets for different levels of use, and some tips for improving light uniformity in a velodrome setting.
Common Velodrome Lighting Lux / Foot-Candle Levels
Getting the lighting right in a velodrome isn’t a one-size-fits-all kind of thing. The ideal brightness really depends on how the venue is used—whether it’s a local community track, a regional competition ground, or an international stage with live TV coverage. Here’s a breakdown of typical lighting levels (in lux and foot-candles) that can serve as useful benchmarks. Just to recap, 1 foot-candle (fc) equals roughly 10.764 lux, so 100 fc would be about 1,076 lux.
Recreational / Community Use
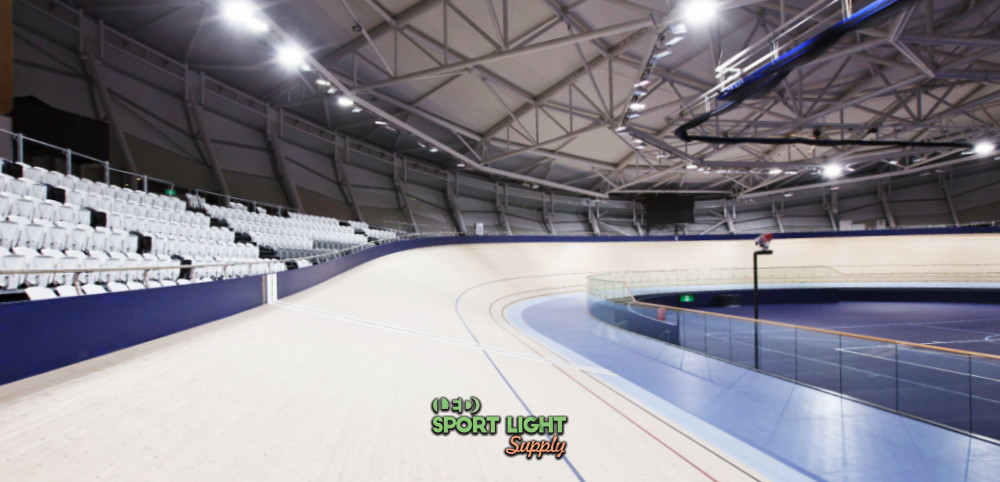
For a velodrome that’s mainly used for casual cycling, local club rides, or basic training, the lighting doesn’t need to be blindingly bright. Around 300 lux (about 28 fc) across the track is usually enough to ensure safe riding and clear visibility without wasting energy. That’s roughly similar to what you’d find on a well-lit indoor basketball court.
Even at this level, uniformity still matters. Aiming for at least 0.5 in uniformity ratio (minimum illuminance divided by average illuminance) helps avoid dark corners or bright patches that could distract riders. With modern LED floodlights, it’s easier to reach that consistency even on a modest budget.
At community levels, good colour rendering (CRI 70-80) is usually fine, and you can also use dimmable LED systems so the brightness can be adjusted for daytime versus evening sessions. These facilities often focus on keeping lighting energy-efficient and easy to maintain, since operation costs tend to be more of a concern than perfect visual performance.
Training & Non-Elite Competitions
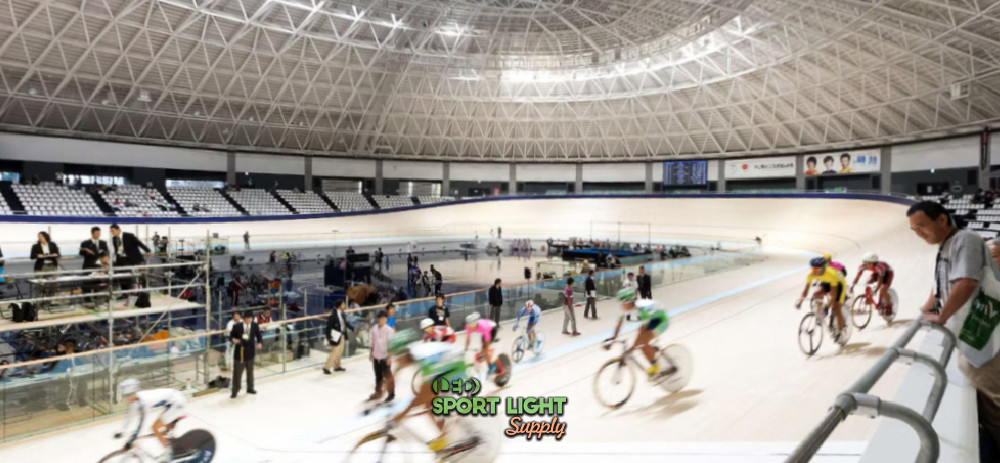
When a velodrome hosts serious training sessions or regional competitions, visibility needs to be sharper. Cyclists at this level are moving fast and often racing in tighter packs, so they need precise depth perception on corners and straights. Lighting here typically ranges from 800 to 1,200 lux (around 75–110 fc) across the riding surface.
That bump in brightness helps riders gauge distances better, especially when entering and exiting banked turns at high speed. It also allows coaches, officials, and timing systems to operate more accurately. The extra light ensures cameras and sensors—like photo-finish equipment or motion-tracking devices—capture every frame cleanly without flicker or shadow.
For these venues, a uniformity ratio of 0.7 or higher is a good target. Some operators go for a slightly higher vertical illuminance (about 400–600 lux) in key areas like the start line, turns, or judging zones. This provides a balanced view for both athletes and spectators, making the track look evenly lit and comfortable to watch.
Most newer training facilities also aim for a colour rendering index (CRI) of 80 or above, so the wood tone of the track, the cyclists’ uniforms, and sponsor markings appear vivid. Higher-efficiency LED luminaires with adjustable optics can fine-tune brightness and direction, reducing glare and energy use while maintaining uniformity.
Competition / Broadcast / International Tournament Level
Once a velodrome hosts national championships, international races, or televised events, the lighting needs to perform on a completely different level. It’s not only about what riders see—it’s also about what the cameras see.
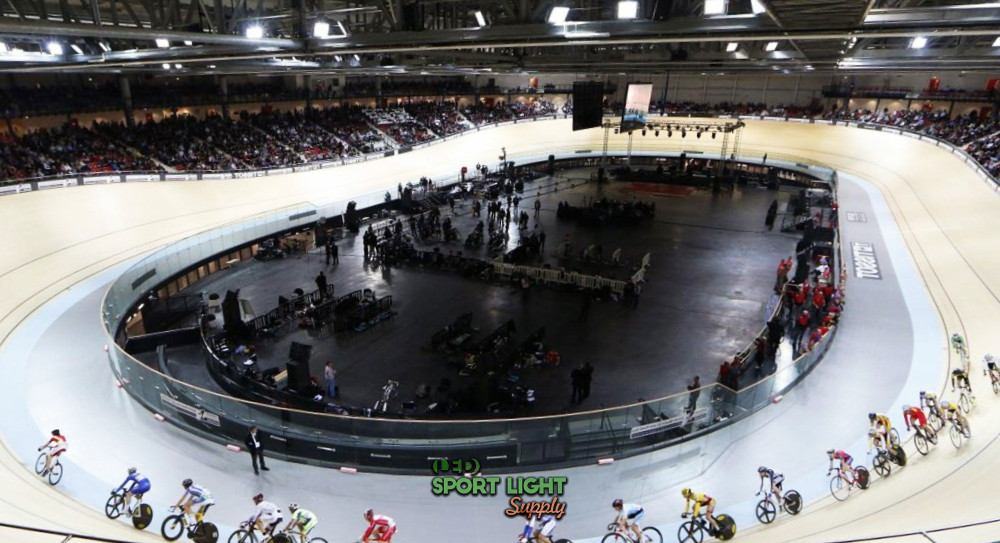
For broadcast-grade illumination, the horizontal illuminance usually starts at around 1,500 lux and can go up to 4,000 lux (that’s roughly 140–370 fc) depending on the event’s broadcast requirements. Some elite venues even push it further in specific zones: the Vélodrome de Saint-Quentin-en-Yvelines in France, for instance, reportedly reaches 2,700 lux horizontally, 1,400 lux vertically toward the main camera direction, and up to 4,000 lux at the finish line to get crystal-clear footage.
These venues must meet stringent broadcast standards that account for high-definition TV, slow-motion replays, and 360-degree camera coverage. Uniformity becomes even more demanding, typically above 0.7, so that there’s no visible shift in brightness when the camera pans around the oval. Colour accuracy is another big deal—CRI 90+ is often specified to ensure natural tones on screen.
It’s also worth mentioning that glare control is vital at this level. A poorly aimed fixture can wash out camera shots or distract riders, especially during night races. Designers usually simulate every luminaire angle and reflection pattern in lighting software before installation.
Comparing the Levels
If we put it all together, the rough guideline looks like this:
| Use Level | Lux (lx) | Foot-Candles (fc) | Uniformity | CRI |
|---|---|---|---|---|
| Recreational / Community | ~300 lx | ~28 fc | ≥0.5 | 70–80 |
| Training / Regional Competition | 800–1,200 lx | 75–110 fc | ≥0.7 | ≥80 |
| High-Level / Broadcast Events | 1,500–4,000 lx | 140–370 fc | ≥0.7 | ≥90 |
These aren’t rigid rules—they’re starting points. The final numbers depend on factors like mounting height, track surface reflectance, banking angle, roof structure, and whether the event is indoor or outdoor.
It’s also smart to design with flexibility in mind. Many modern velodromes use multi-level lighting control systems so operators can switch between “training,” “competition,” and “broadcast” modes, each with its own lux preset. For instance, running lights at 400 lux for daily training and ramping up to 2,000 lux for a televised race can save thousands of kilowatt-hours over a season.
Why Do We Need to Have a Specific Brightness Level in a Velodrome?
Clear Vision for High-Speed Cycling
When cyclists are racing at 60 km/h or even faster, every split second counts. They need to clearly see the track surface, banking angle, lines, and other riders to make quick, precise decisions. A small shadow or dim area on the curve can easily cause misjudgment of distance or speed, especially on wooden indoor tracks where light reflection changes slightly with surface wear. For that reason, having a consistent brightness level—usually measured in lux—across the entire track is not just for looks, but for safety and fair performance.
Studies on indoor sports lighting often recommend at least 300 lux for training, while professional velodromes can go up to 2,000–4,000 lux to maintain excellent visibility for athletes. That difference isn’t just about brightness—it’s about ensuring that when riders enter a turn or exit onto a straight, their eyes don’t need to constantly adjust to changing light levels. Consistent illumination means the eyes can stay focused on motion and track position instead of compensating for fluctuating brightness.
Better Experience for Spectators and Broadcast Cameras
Lighting in a velodrome doesn’t just serve the athletes. Spectators, photographers, and HD or 4K broadcast cameras also depend on well-designed lighting. If the illumination is uneven or too low, cameras may struggle to capture the true colour of team jerseys or create harsh shadows that reduce visual clarity on screen. Broadcast standards typically expect vertical illuminance on the athlete’s face or side of around 1,200–1,500 lux, with some venues reaching up to 2,700 lux in high-end international events to ensure crisp, flicker-free TV images.
Good lighting design also helps with colour rendering, often requiring a CRI (Colour Rendering Index) above 80 or 90 so the track, bikes, and sponsor logos look vivid and natural both to the live audience and on broadcast footage. Poor colour reproduction can make an event look dull even when brightness seems fine.
On top of that, camera angles in velodromes are quite dynamic—covering straightaways, steep banked turns, and finish lines—so the vertical and horizontal illuminance must be balanced carefully. A lighting setup that looks bright from above might still leave dark patches in camera frames if not properly aimed. That’s why major velodromes often invest in complex lighting simulations before installation to guarantee uniform coverage for both athletes and media.
Consistency and Uniformity for Safety and Comfort
Even when average brightness looks good on paper, uniformity—how evenly the light spreads across the track—is just as crucial. A uniformity ratio (minimum lux divided by average lux) of 0.7 or higher is usually recommended for professional cycling venues. If one part of the track is at 1,200 lux and another drops to 500 lux, riders’ eyes constantly adapt to light and dark transitions, which can be tiring and distracting. Uneven lighting can also create visual illusions about track slope or distance, especially under the steep banks that can reach up to 45 degrees.
Uniform lighting helps maintain visual comfort for both athletes and spectators. It reduces glare and prevents overexposed reflections on polished wood surfaces. Some velodromes use specially designed floodlights with narrow-beam optics to cover corners and wide-beam ones for straight sections, helping to smooth out brightness differences and keep the uniformity ratio stable even when fixtures are mounted high above the track.
Matching Brightness to the Venue’s Purpose
Not every velodrome needs to shine like an Olympic arena. The level of brightness should match how the facility is used. A community or training velodrome might only need 300–500 lux, which saves a lot of energy and keeps operating costs lower. Regional competition venues often go for 800–1,200 lux, which offers a good compromise between visibility and efficiency. For world-class events, lighting can exceed 2,000 lux, and sometimes even 4,000 lux at the finish line for camera clarity.
By defining and maintaining specific lighting levels, operators can plan fixture layouts, set different lighting modes for training vs competition, and control energy use more effectively. Many newer velodromes use LED lighting systems that allow dimming and zoning—so you can switch from “training mode” (e.g., 400 lux) to “broadcast mode” (e.g., 2,500 lux) with the push of a button.
Balancing Efficiency and Performance
Having a clear lighting standard isn’t just about brightness; it’s about efficiency and consistency. Too much light can create glare, waste electricity, and even overheat indoor arenas. Too little light makes the track unsafe and hurts visual quality. Finding the right middle ground ensures that both athletes and cameras see everything clearly while keeping running costs reasonable.
So, when people ask why specific brightness levels are needed in a velodrome, the answer lies in balancing clarity, safety, visual quality, and efficiency. The goal isn’t simply to make the place “as bright as possible,” but to create a lighting environment that enhances performance, protects athletes, and makes the sport look as exciting as it feels.
Tips for Improving Light Uniformity in Velodrome
Getting the average brightness right is one thing, but making sure that brightness is evenly distributed across the track is a whole other challenge. In velodromes, where cyclists move at incredible speeds and every fraction of a second matters, even small inconsistencies in lighting can affect safety, comfort, and visibility. Below are some practical and realistic ways to improve both uniformity and brightness consistency in velodrome lighting—without overcomplicating the setup.
Understand the Track Geometry and Surface Reflection
Velodromes aren’t flat surfaces; they’re complex ovals with steeply banked curves (sometimes up to 45 degrees), elevated straights, and varying surface materials like wood, composite board, or concrete. Each of these surfaces reflects light differently—wood tends to bounce light softly, while polished concrete can create sharper reflections.
To achieve balanced lighting, it’s vital to model the track’s shape and material reflectivity during the design stage. If the corners and straights aren’t accounted for, you’ll likely end up with “hot spots” on certain turns and darker zones elsewhere. For example, a narrow-beam floodlight might illuminate one curve perfectly but leave a dim patch on the opposite side. Using lighting software such as Dialux or Relux allows designers to simulate the reflections and light spill before installation.
The goal here is to make sure the light spreads evenly across all viewing and racing areas, not just the main track. That includes the infield, spectator zones, and areas near the timing systems or start lines where shadows can cause distractions or distort measurements.
Get Mounting Heights and Beam Angles Right
The mounting height and beam angle of the luminaires play a huge role in achieving uniform brightness. If the fixtures are mounted too high, the light spreads too widely and weakens before it hits the track. Too low or flat, and you risk glare and uneven illumination.
In most velodrome setups, floodlights are mounted around the perimeter and aimed at specific angles—usually tilted less than 65° from vertical—to cover both the straights and the steep curves without shining directly into riders’ eyes. Adjusting beam spreads (for example, using narrow beams for the curves and wide beams for the straights) helps create smoother transitions between sections.
Sometimes, installing supplementary lights at lower positions or under the roof structure can eliminate shadows caused by architectural elements like trusses or catwalks. Designers often rely on lighting contour maps to verify there are no “dark spots” between fixtures.
Use Smart Switching Levels and Zone Control
Modern velodromes often serve multiple purposes—morning training, afternoon local races, and evening international broadcasts. Installing multiple lighting levels or zone controls makes it easier to switch brightness depending on the activity.
A common setup might include:
- Training mode: around 300–400 lux
- Competition mode: around 800–1,000 lux
- Broadcast mode: up to 1,500–2,700+ lux
This flexible control system keeps energy use reasonable while maintaining a consistent level of uniformity across brightness modes. The key is to ensure that when the lights are dimmed, the balance between zones remains the same, so no part of the track appears significantly darker than another.
Advanced LED systems now allow pre-programmed settings—so operators can change lighting scenes instantly, keeping the look uniform and professional at any brightness level.
Reduce Shadows and Glare
Cyclists racing at full speed don’t have time to adapt to sudden light changes, so shadows and glare can be more than just an annoyance—they can be safety hazards. Shadows caused by light poles, overhangs, or seating structures might not seem obvious during setup but become glaringly noticeable when riders pass through them at high speed.
To avoid this, fixtures should be aimed carefully using asymmetric optics, which direct the light exactly where it’s needed while minimizing spill. The transitions from straightaways to curved banks should also have even light blending, so riders’ eyes don’t need to adjust mid-race.
Glare control is another big part of maintaining visibility. For both riders and spectators, lights should be positioned out of the direct line of sight. Using shields, louvers, or lower-glare optics can help soften light intensity and prevent harsh reflections off the glossy track surface—something that’s particularly noticeable on indoor wooden tracks.
Simulate and Measure Lighting On Site
Even the most advanced lighting design is just a plan until it’s tested in the real environment. Before finalizing the system, it’s best to simulate it using specialized software and later verify it with real-world measurements.
After installation, you can check performance by measuring horizontal and vertical illuminance at regular grid points—usually every few meters around the track. These readings help calculate the uniformity ratio (Emin/Eavg). For top-level venues, this ratio should be at least 0.6–0.7. If the ratio drops below that, you’ll likely see visible brightness variations that can affect both riders and cameras.
Ongoing monitoring is just as crucial as the initial design. Measuring light levels once a year (or after major maintenance) helps ensure the system continues to meet its target levels over time.
Keep the System Maintained and Audited
Lighting systems naturally degrade. Dust buildup on fixtures, age-related dimming of LEDs, and even subtle changes in reflectivity from track wear can reduce brightness and uniformity. Setting a routine maintenance plan—for example, cleaning luminaires every six months and checking aiming angles yearly—helps preserve lighting quality.
It’s also smart to keep maintenance access points in mind during installation, since velodrome ceilings can be extremely high (often 12–20 meters above ground). Good maintenance planning prevents future headaches and ensures long-term consistency.
Pay Attention to Broadcast and Finish-Line Needs
For venues that host televised events or world championships, the vertical illuminance—how much light hits the athletes and cameras—is just as crucial as horizontal brightness. Cameras facing the riders need enough vertical light (usually 1,000–1,400 lux) to capture clear, detailed footage.
At the finish line, the lighting should often reach up to 4,000 lux, since that’s where photo-finish cameras, slow-motion replays, and live broadcasts demand ultra-clear imagery. Many designs add extra luminaires or adjustable fixtures in this area to guarantee precision coverage without glare.
Upgrade to Modern LED Fixtures
Finally, one of the easiest ways to improve both brightness and uniformity is to switch from traditional metal halide lamps to modern LED sports lights. LEDs deliver far more consistent lumen output over time, have better colour rendering (often CRI 90+), and allow precise control over dimming, beam direction, and light temperature.
Unlike older lamps that take minutes to warm up, LEDs achieve full brightness instantly and can switch between lighting modes smoothly. They also have less light depreciation, meaning your uniformity ratio stays steadier for years before re-aiming or replacement is needed.
Final Thoughts
Choosing and implementing the right lighting levels for a velodrome comes down to understanding the purpose (recreation vs training vs international competition), the physical characteristics of the venue (track shape, banking, surface reflectance, roof height/angles), and setting targets for both average illuminance and uniformity. Having specific brightness levels (e.g., ~300 lux for casual use, ~800-1,200 lux for serious training/competition, ~1,500-4,000 lux for high-level broadcast events) gives a good framework. But equally important is ensuring uniform lighting and tailoring fixture aim, mounting and optics properly. Over time, maintaining that level matters just as much.